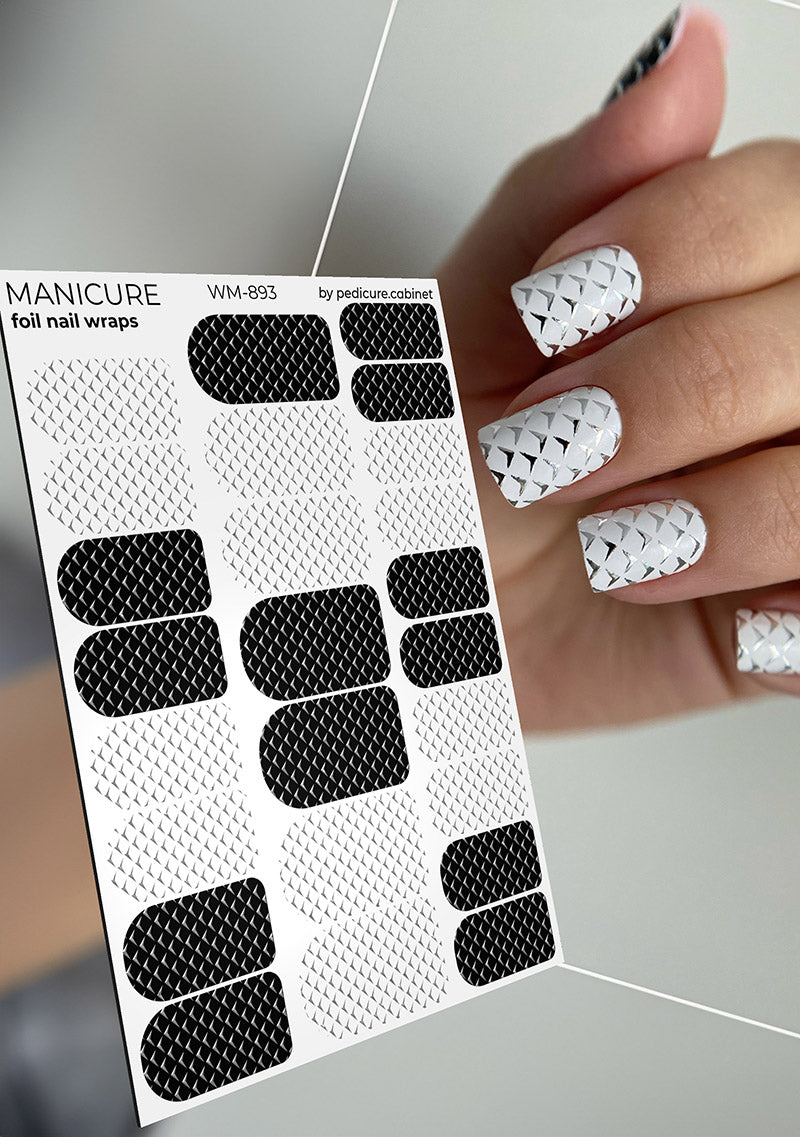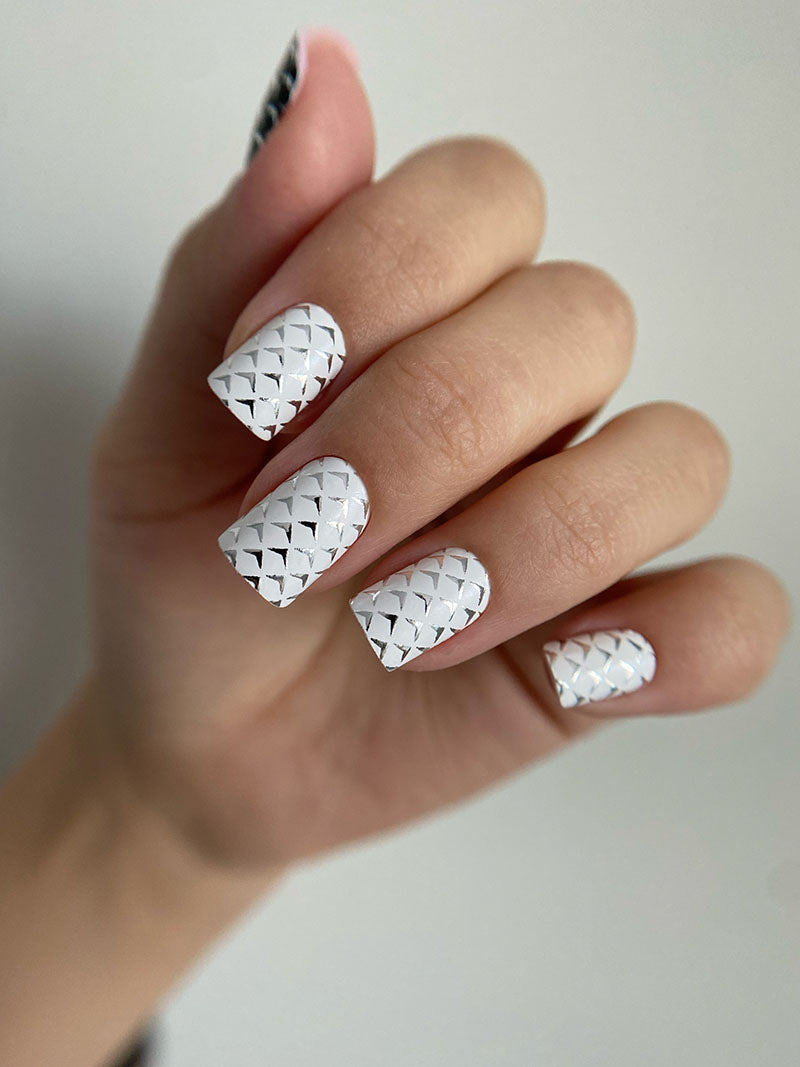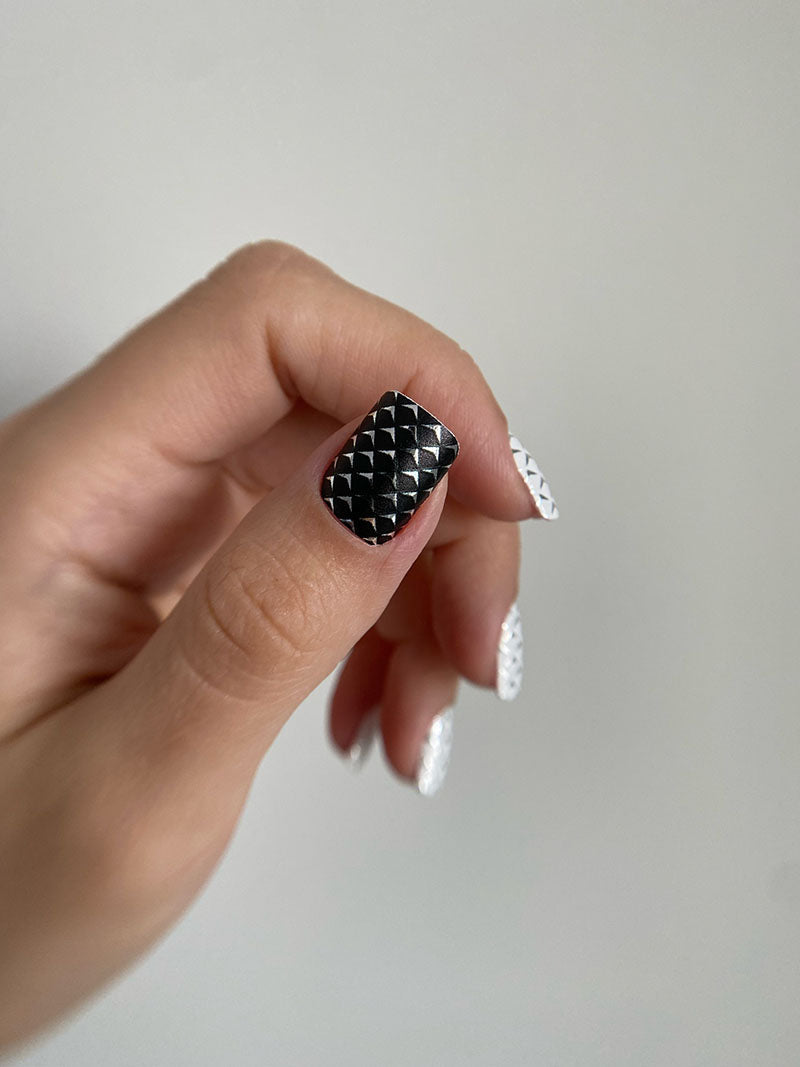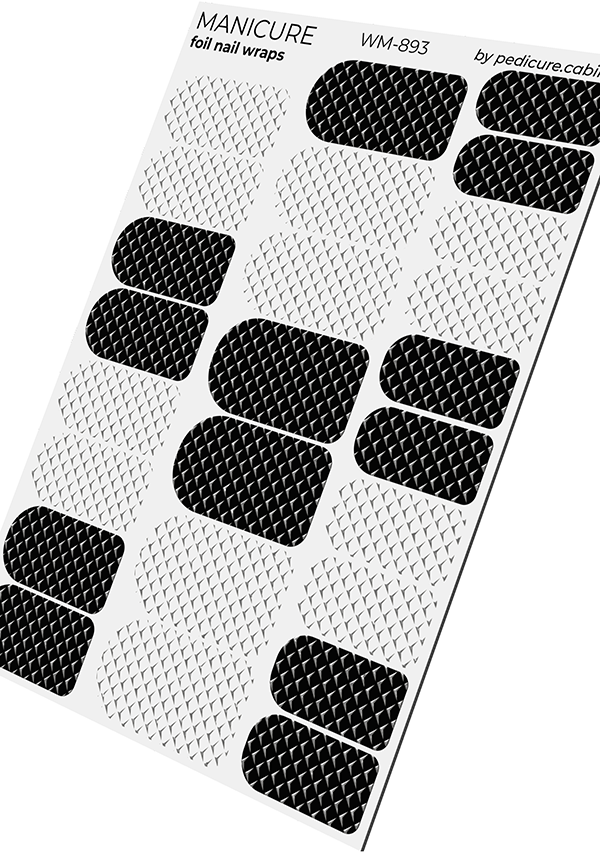
Nail Wraps & Water Decals. How To Apply
NAIL WRAPS guide
- Polish the nail plate with a soft file and degrease it, removing all dust. Thoroughly dry the nails.
- Remove the protective white part from the wrap for more convenient handling.
- Select the wrap of the desired size using any convenient method.
- Use a wood stick to lift the wrap from its base.
- Place the wrap on the bare nail as close to the cuticle as possible, slightly stretching it and smoothing it towards the free edge and sides.
- Gently press the wrap under the free edge.
- File off excess wrap in one direction using a soft file or cutting tool.
- Seal the wraps with a base coat and top coat for gel polish (using a semi-dry brush), or you can cover them with a regular nail polish top coat (without excess thickness!).
!!! Wraps can be used as a standalone coating without a base and top coat - they wear well for 3-5 weeks!!!
Useful Tips:
- For the best adhesion of the wrap to the natural nail, there is no need to use a base coat.
- For the thumb, it is recommended to cut the wrap to the nail size before removing it from the backing. For other fingers, for faster size selection, choose an approximately suitable size, bring it as close to the nail and cuticle as possible (without touching the nail!). Assess the size by width - if the wrap is too large or small, bring it closer to a nail that better fits in size and so on!
- Do not stretch the wrap too tightly! Apply only slight tension when working with arched nails.
- File off excess wrap only with a soft file (240 grit) in one direction, or use a cutting tool, cutting precisely along the border of the free edge of the nail.
- Adjust the length of the nails every 7-10 days! This way, nails will not break, and wraps will wear very neatly!
When using wraps as a standalone coating, be sure to observe the following for the first 24 hours:
- Avoid using toners, cleansing foams, and water immediately after applying the wraps.
- Avoid lying in the bath.
- Refrain from going to the sauna and steam room.
- Pay attention to your footwear to minimize friction on the nails.
WATER DECALS guide
- Cut the slider according to the shape of the nail (the size of the slider should be slightly smaller than the size of the nail so that it can be stretched a little on the nail plate!)
- We apply the background color of the gel polish, dry it in a lamp until it is completely polymerized.
- Put the slider on a cotton pad soaked in hot water for 20 seconds
- Apply a primer (the nail should not be too wet!)
- Take the slider, wipe it lightly on your hand (remove excess water!)
- We bring it to the nail, and by the shift method we transfer the slider to the nail. Gently pull it to the cuticle, sinuses, stretch it a little in width. We smooth the film by pushing out the remaining air and water! Dry in a lamp for 60 seconds
- Using a file of medium hardness, with movements from top to bottom, carefully remove the excess slider from the free edge of the nail.
- We cover the slider with a thin layer of the base (or with a top with a sticky layer!) Dry for 60 seconds, then cover the second layer with a top that is in work (it is possible without a sticky layer!). Dry 2 minutes
Helpful Hints:
* there is no need to seal the ends, the sliders are worn perfectly!
* With good pressure, we level the slider, as if imprinting it into the nail!
* be careful when closing the slider so that the entire surface is smeared!
* if you install the slider on the primer, you need to lay it on the 1st attempt, because it will be difficult to correct its position (you can only slightly pull it up to the cuticle and in width).
If this is your first time working with sliders, I recommend installing them on a sticky layer, either this is the residual stickiness of the color, or apply a base or top with a sticky layer on the color with a semi-dry brush (dry for 10 seconds!) Transfer the slider to the nail (it will be possible to adjust the position of the slider on the nail , move it to the right place!), then dry for 1 minute! Then, according to the scheme, we file and overlap.
* we apply the gel-varnish substrate with the thinnest layer, it is possible with bald spots (so that there is no excess material volume), the slider will hide all the flaws
